25 Jan Installing Receivers
Complete a New Connect Work Order:
Step 1: Verify inside CAW time window and click start in ETA. Mask up according to Covid-19 guidelines.
Step 2: Greet the customer For example, “Hello, Mr./Mrs. Customer. I’m Randall, your installation technician and smart home expert.”
Step 3: Put on boot covers.
Step 4: Discuss the customer’s expectations to ensure that the work order is correct. Verify each location where tv service is desired. Use a pocket toner(s) to mark existing lines. During your initial walkthrough, determine the best equipment layout and look for smart home product opportunities. For example, the Hopper might not fit on the mantle in the living room and need to be located in a different room. Music posters indicate a better chance at selling a soundbar. Young children increase the likelihood of selling remote covers, screen cleaners, and cameras. Always be on the lookout for ways to relate products to customer needs.
Step 5: Walk perimeter of house (use an inclinometer or Sat Finder Lite to identify LOS for EA or WA, check pre-existing cable conditions)
Step 6: Show customer where you recommend putting Dish for best los (pole is last resort because it dramatically increases TC potential, high enough to be out of reach and out of sight is best)
Step 7: Once the customer agrees to the mounting location, use an approved mounting method to secure a mast or temp mount. (6 lag bolts or 4 lag bolts in brick, minimal 2 block on temp mount)
Step 8: Tone out lines and/or run cable to necessary locations, using approved connectors connect every line needed to appropriate location in Ground block, diplexer, node, hub, splitter, tap, integrator
Step 9: Assemble appropriate Dish type EA or WA, 1000.2 or hybrid, or international, set skew and elevation, insert jumper
Step 10: Install Dish on mast, sweep left to right to lock in Satellites, ID to verify correct Satellites, peak azimuth, peak elevation
Step 11: Run appropriate cable type to feed cable connections (orange for temp mount leave excess to reach up pole or black w/ messenger for mast), secure in J-channel, use flex clips, service loop on mast end, drip loop at end w/ connections, nice neat straight lines
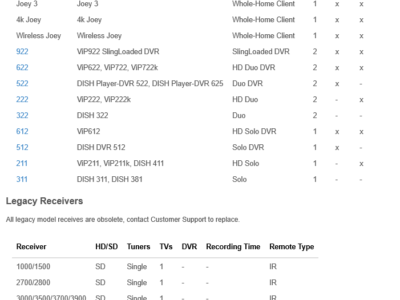
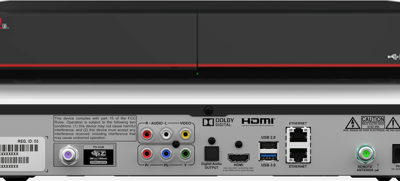
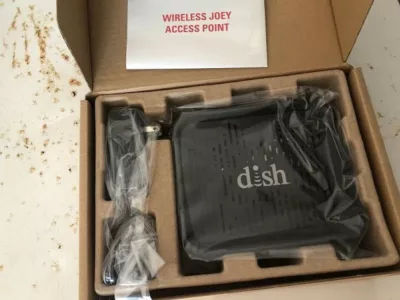
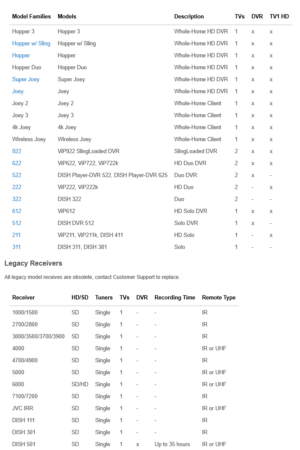
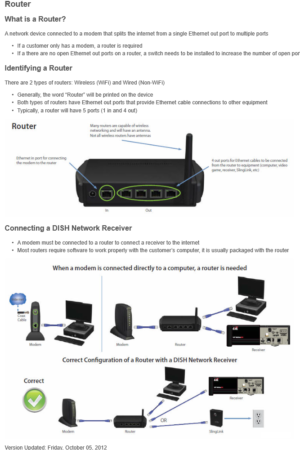
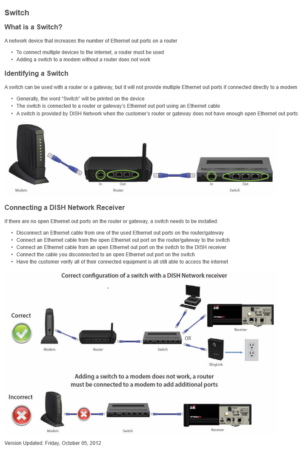
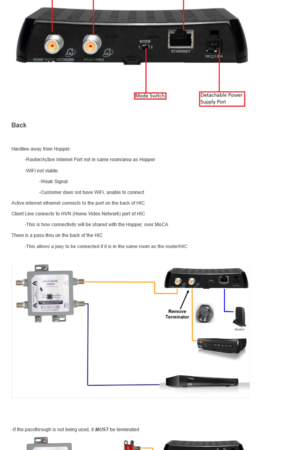
Step 12: Bring in receivers and SHS products, connect appropriate receiver types in each room according to how you mapped connections, start downloading products, you should see appropriate satellites check switch, and activate receiver in ETA
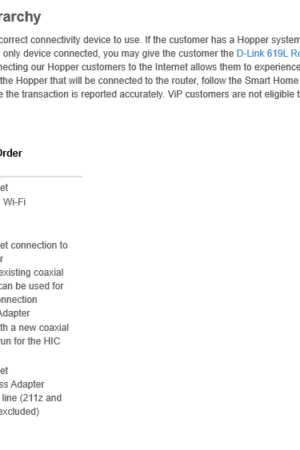
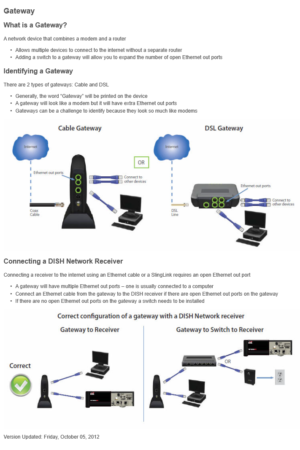
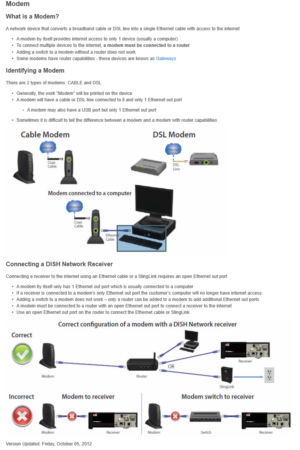
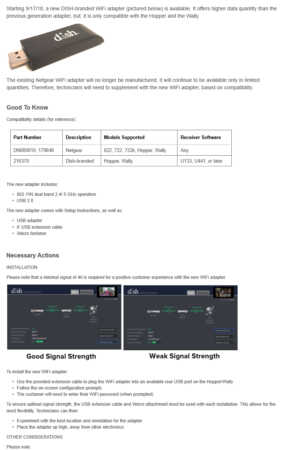
Step 13: Once receiver is downloaded, connect internet, program remote, go to regular programing and get IP code
Step 14: Conduct customer education (how to use remote, channels, voice features, menu settings, guide format, Picture in picture) Demo SHS Products.
